
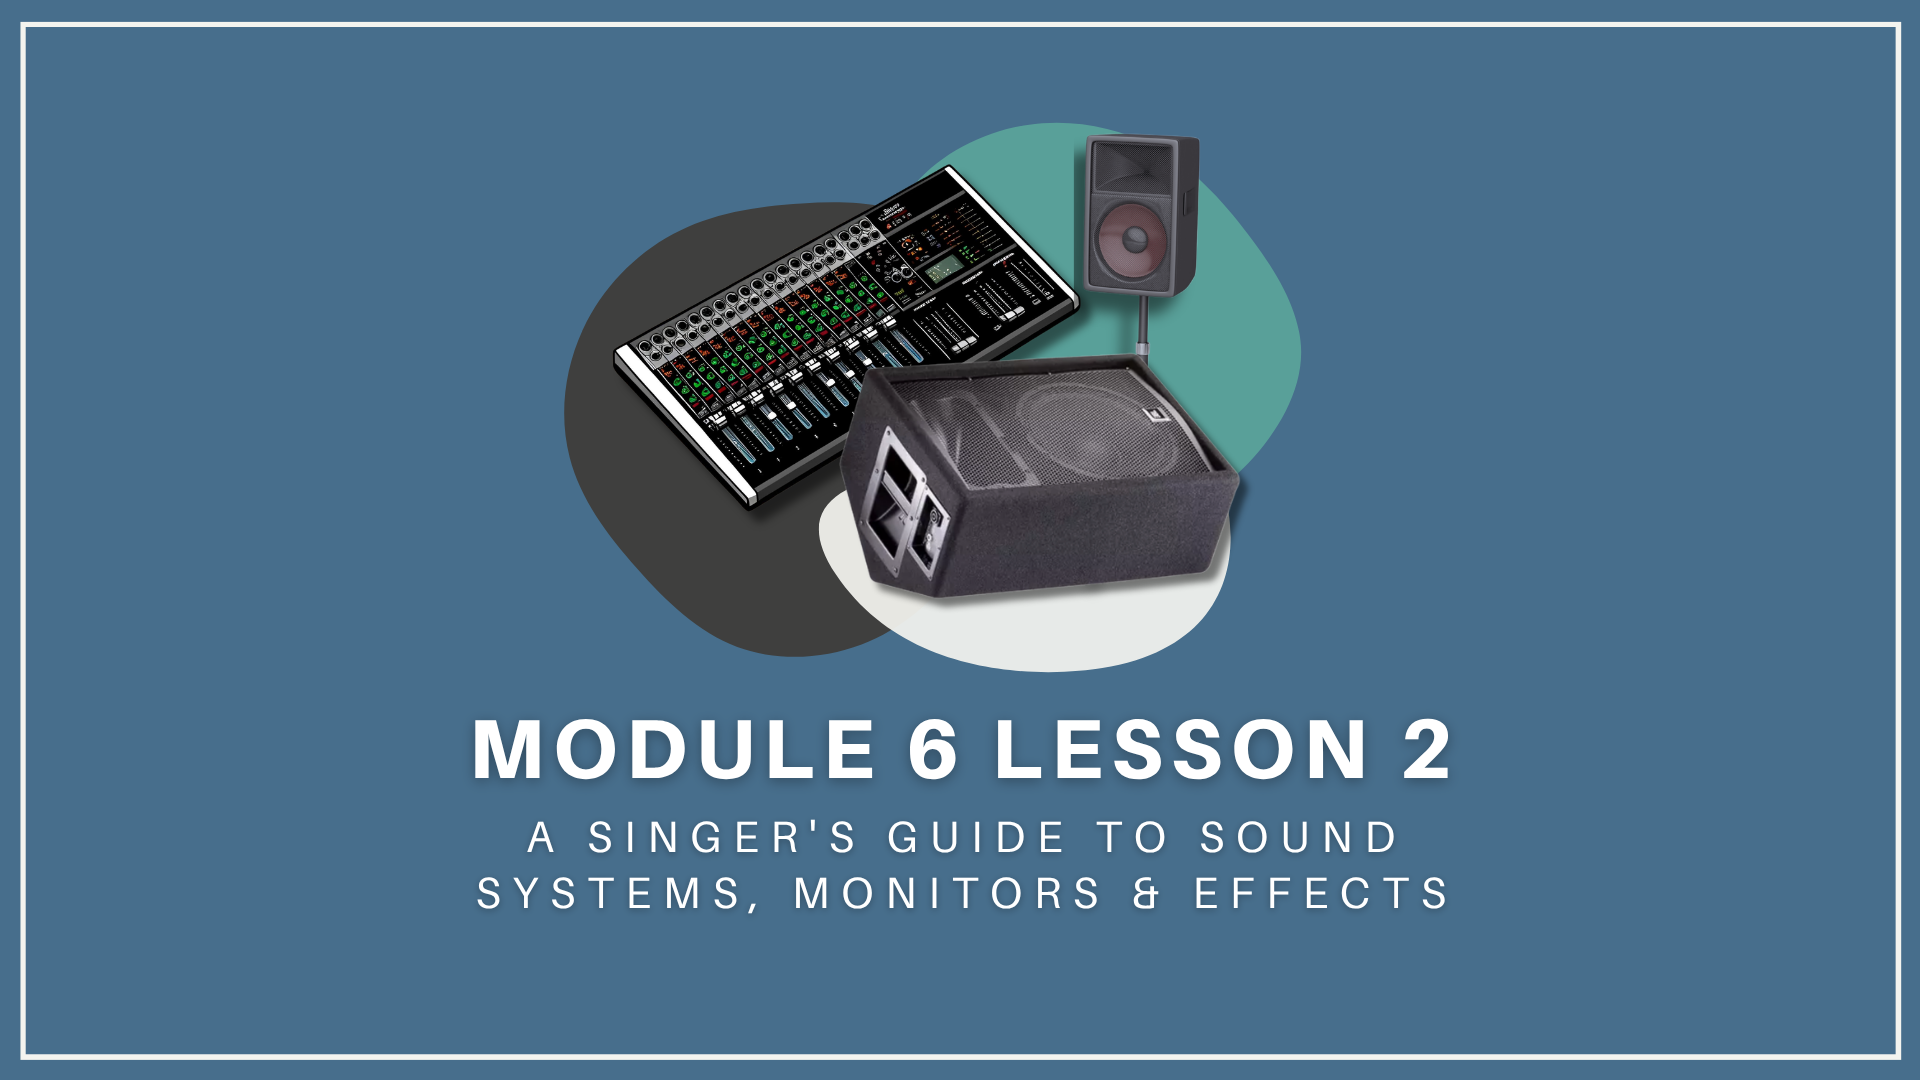
Module 6 Lesson 2: A Singer's Guide to Sound Systems, Monitors & Effects
Video 0: Introduction (2 mins)
What you’ll learn
Video 2: Monitors (12 min)
In-Ear Monitors
Wedges
Hot Spot Stage Monitors
Video 1: Anatomy of A Sound System (8 min)
The Mixing Console
The Mixing Console: Channels
Video 3: EQ (7 min)
Mid Frequencies (Presence)
High Frequencies (Sparkle)
Low Frequencies (Depth and Warmth)
Video 4: Effects (10 min)
Echo, Delay & Reverb
Chorus
Compression
Pitch Correction
Harmonizers
Video 1: Introduction (2 min)
Transcript:
In the last two lessons, we focused on microphones, mic cords, and mic stands. You learned how essential it is to own a microphone and how to choose one that works well for your voice. You also learned how to practice with these tools, making them a part of you and adding to your confidence in performance.
In this lesson, you’ll boost that self-confidence further by learning to work with sound systems. Understanding how they function so that you can set one up or communicate your sound needs to an audio technician is an invaluable skill. But you don’t have to be an expert in audio technology. I’m certainly not! But I’ve found that even a basic knowledge of sound systems is essential for singers.
What you’re about to learn will serve you on or off the stage, leading to a performance that’s not just less frustrating but more enjoyable and rewarding.
So, here’s what we’ll cover:
What You’ll Learn
VIDEO 1: The Anatomy of a Sound System
First, we’ll explore the components of a sound system. What’s the gear that’s absolutely indispensable? From mixing boards to monitors, we’ll take a look.
VIDEO TWO: Monitors
One of the crucial components of a sound system is your monitor. In this part of the lesson, you’ll learn about the three types of monitors and when to use them.
VIDEO THREE: EQ and Your Monitors
Do you remember waaaay back in Module Two when you learned how sound works? Well, now we’ll expand on that foundation with some hands-on applications. Understanding EQ is critical to hearing your voice, whether you’re in rehearsal or on stage. In this lesson, you’ll learn how to EQ your monitor effectively.
VIDEO FOUR: Vocal Effects
Which ones are indispensable for singers? I’ll walk you through some essential vocal effects, plus how and when to use them.
Video 2: Anatomy of A Sound System (6 min)
Transcript:
So, let’s start with a simple overview of a sound system’s anatomy. All sound systems need:
A power source
A mixing board
An equalizer for adjusting sound frequencies
Compression and effects for modifying the sound.
Speakers
Microphones
And monitors
Whether you’re performing in a jazz club or a stadium, all sound systems need these elements. In larger venues, you’ll typically find more extensive systems run by an audio engineer from “front of house,” a term used in theater lingo that refers to the area in front of a stage. The front-of-house mixer ensures good sound for the audience.
In a larger venue, there’s often another crucial figure: the monitor mixer stationed at the side of the stage. Being on the side of the stage allows them to see and hear you clearly, making it easier for you to communicate your sound needs. This person is your lifeline, seeing and hearing everything you do, ready to adjust the sound to meet your needs.
When performing in intimate settings like small clubs or coffee shops, you’ll likely control the sound directly from the stage. The upside to running a sound system yourself? Well, as you gain experience with a small system, larger ones won’t seem so intimidating. Plus, you’ll have the vocabulary to use when talking to sound technicians. (In the next lesson on sound checks, I’ll provide more details on how to interact with front-of-house and monitor mixers.)
I have a small compact sound system. For years, I’ve relied on it for house concerts, small venues without their own systems, practice sessions, and rehearsals. While it may not be like every sound system you’ll encounter, its components are pretty universal, so I’ll use it here as an example. Once you see how it works, I’m confident you can apply what you learn to other systems.
First, I’ll break down its components and then guide you through the setup process!
The Mixing Console
If the sound system were a symphony, the mixing board would be the conductor. This control center allows you to manage sound inputs and outputs, giving you the ability to fine-tune each element of your performance.
Here’s the mixing board that I use, the Yamaha EMX12SC.
As you might remember, every sound system needs a power source and a mixing board. This little console is cool because it combines both in one small box. It’s lightweight, making it easy to carry. And, with 8 channels, it’s perfect for a small band or jazz combo. Plus, it features individual equalizers for each channel or instrument and a master equalizer for the entire system. This type of mixing console is simple to set up and easy to run from the stage. (Oh, and don’t worry, if you’re unfamiliar with what equalizers do, we’ll cover them in a minute.)
So, let’s take a closer look at one of the channels. Once you learn what one channel does, you’ll know what they all do.
The Mixing Console: Channels
Let’s start at the top and make our way down to the bottom.
This is the Feedback Channel Locating light or FCL. Do you know what feedback is? That’s right. It’s that horrible ring or squeal that you sometimes hear when a microphone is turned up too loud or is too close to a speaker. If you’re hearing feedback, this little light helps you identify which microphone is causing it. If it lights up, you can adjust the channel’s equalizer or volume to make it stop!
Speaking of the Equalizer, that’s next in the lineup: An equalizer allows you to adjust the frequencies in your voice or other instruments. This three-band equalizer only adjusts the high, mid, or low frequencies. We’ll take a deeper dive into how these frequencies affect what your voice sounds like in your monitors and speakers in a minute. If you only learn one thing from this lesson, that would be it! So stay tuned.
The MONITOR Knob adjusts the volume of what you hear through your monitors without changing the speaker volume for the audience.
The EFFECTS knob controls how much of an effect, like reverb or echo, is added to your voice or instrument.
This is the LEVEL knob: It adjusts the output level of the signal — in other words, it’s the volume knob.
And here’s the Compression Knob: It adjusts the amount of compression applied to your voice or instrument.
So, what is compression? Compression balances your voice or instrument by adjusting the dynamic range. It makes your quiet notes louder and your loud notes quieter, so your voice sounds even and clear to your audience. I’ll demonstrate this effect later in this lesson.This is the LINE/MIC Switch: You use the LINE setting for things like keyboards and the MIC setting for microphones.
So, that sums up our overview of a channel on a mixing console. Next, you’ll learn about monitors. But stay tuned; I want you to hear how these buttons and knobs sound when applied to your voice. We’ll circle back in a bit so you can listen to what they sound like, learn how to set them, and EQ your monitor mix.
Video 3: Monitors (9 min)
Transcript:
Monitors are essential for success both on and off the stage. Whether you’re rehearsing or performing, they help you stay in tune and in sync with other instruments. Monitors are also critical for vocal health. If you can hear yourself correctly, you won’t push your voice too hard, making it easier to sing at a healthy volume and prevent vocal strain.
There are different types of monitors:
In-ear monitors provide a direct, isolated sound-feed into your ears.
Wedges are traditional stage monitors that direct sound upwards from the ground towards your head.
And Hot spots are small monitors on a mic stand you can position closer to where you’re singing.
So, which type of monitor is best? The answer depends on the situation. Let’s take a look at all three types of monitors: the good, the bad, and the ugly.
In-Ear Monitors
The Good
In-ear monitors (IEMs) have become increasingly popular with singers due to their unparalleled sound quality. They allow you to hear your voice instantaneously and clearly when mixed correctly. Because IEMs are placed in your ears, they also reduce the ambient sounds around you, protecting your ears from other instruments that are too loud.
And, unlike traditional monitors, IEMs move with you, guaranteeing consistent sound quality regardless of where you are on stage.
I’ll never forget the first time I used in-ear monitors in a performance. After years of singing on stage, I could finally hear my voice the instant I made a sound. It was incredible! IEMs made it so much easier to adjust pitch, texture, and tone in real-time. I no longer struggled to hear myself over the band, plus I could move more easily around on the stage. No more feeling like I was tethered to the one spot where I could hear myself. It was incredibly freeing!
The Bad
However, using in-ear monitors has some challenges. Getting the right mix in them can be tricky. You need a skilled sound engineer and time during sound check to achieve an optimal mix. IEMs can also create a sense of isolation from your audience, making it difficult to hear them and feel their energy. You can fix this by placing a microphone on each side of the stage facing the audience and then mix them into your IEMs. However, this might not be feasible depending on the band size and available mixing board channels. An alternative is to use just one IEM so that you can hear your voice clearly in one ear and the ambient stage sound and your audience in the other. Still, when you’re used to traditional stage monitors, using IEMs may require some adjustment.
The Ugly
The worst-case scenario with in-ear monitors is experiencing a complete system failure during a performance. If your IEMs stop working, you’re left in auditory darkness. And prolonged use of IEMs at high volumes can lead to hearing damage, so using them responsibly and maintaining a safe volume level is critical.
Lastly, high-quality IEMs are expensive. I never bought a pair because the shows I was doing were either in intimate venues or I wasn’t the opening act. And, as you’ll learn in the next lesson -when you’re the opening act, you often won’t get the length of soundcheck you need to dial in a mix for your IEMs. Sometimes, you won’t get a soundcheck at all.
Wedges
Next in our monitor lineup is the modest wedge. This type of monitor has been around for a long time and is still the most commonly used today. In smaller venues, a wedge can also be used as a speaker when you mount it on a tripod. When you use one as a monitor, it sits on the stage in front of you with the screen pointing up at a 45-degree angle.
Inside the wedge are three speakers: a woofer, a mid-range speaker, and a tweeter. The woofer handles the low frequencies, giving your voice depth and richness. The mid-range speaker takes care of the middle frequencies, where the main tonal content of your voice lives. And the tweeter, the smallest speaker, handles the high frequencies, adding clarity and brightness to your sound. Together, when mixed properly, these speakers allow you to hear the entire frequency spectrum of your voice.
The Good
Wedges have been a staple for singers and musicians for decades. They’re pretty reliable and, unlike IEMs, allow you to hear your audience and the ambient stage sound. They’re also generally more straightforward to use, requiring less technical knowledge than in-ear monitors.
The Bad
Despite their benefits, wedges present a few challenges. First, they take up a lot of space, which can make the stage look cluttered. Second, they can affect the sound quality on stage. Factors such as the venue’s acoustics, the volume of other instruments, and poorly placed or mixed wedges can create a cacophony of sound, making it hard to hear yourself clearly. Plus, wedges don’t move with you. If you don’t stand directly in front of your monitor wedge, you may find yourself in an audio dead zone where you can’t hear your voice as well.
The Ugly
The worst thing about wedges has to do with feedback. High volume levels can cause feedback loops, resulting in that wonderful squealing sound we all know and love. This can be a big problem in small spaces or if the microphones are too close to the monitors.
The Key to Using A Monitor Wedge: Positioning
The key to using a monitor wedge is positioning. When you’re in front of a wedge, imagine a line from the center of it to your ear and position yourself there. On small stages, positioning is tricky. If you find yourself thinking, “Why can’t I hear anything?” it might be because the sound is hitting your knees instead of your ears. There are two ways to fix this: If possible, move the wedge further away from you. If there isn’t enough space on the stage, place it on a stable surface in front of it. [Example] You’ll not only hear yourself better, but you’ll have more room to move as well. If that’s not an option, tilt it upward and place something underneath it. Some wedges, like the one I use, [Example], are designed to easily tilt without needing an object underneath for stabilization.
Side Fill Monitors
There’s another type of monitor that belongs to the same family as wedges: side fill monitors. Side fills are essential for larger stages. Like wedges, they help you hear yourself and other band members, but they differ in shape and placement. Unlike wedges, which are placed on the floor, side fills are taller, rectangular, and positioned at ear level on the sides of the stage.
Side fills project sound across the stage, covering a wider area. This means you can hear your voice and the overall mix more consistently, no matter where you are on stage. This is crucial in larger venues, as it gives you the freedom to come out from behind your monitor wedge and engage with band members and your audience.
Hot Spot Stage Monitors
The Good
Hot Spot stage monitors are another option for singers. They’re compact and mounted on a microphone stand so you can position them close to where you’re standing in performance or rehearsal. Hot Spot monitors are great for small venues or crowded stages with limited space. Because they’re within arm’s reach, you can adjust your monitor mix more easily than with IEMs or a monitor wedge. And, like monitor wedges, hot spots enable you to stay connected with the ambient stage noise and the audience’s energy.
The Bad
Hot Spot stage monitors do have some drawbacks. While they’re great for saving space, their compact size can limit the depth and richness of the sound they produce compared to larger floor monitors. And, while you can hear yourself through one, your bandmates might have trouble hearing you.
The Ugly
In the worst-case scenario, using multiple Hot Spots on stage with different mixes can create a cluttered and confusing sound environment. Also, moving slightly out of their range can significantly change what you hear, which can be disorienting during a live performance. Hot Spots are best used in rehearsal or in smaller bands with a tight stage setup.
Video 3: EQ (5 min)
Transcript:
OK. Now it's time to talk about EQ — what it does and how to use it to hear your voice in your monitor. It's the most important part of this lesson, and one that I hope will help your voice stay healthy and make your rehearsals and shows more fun!
As you learned earlier, an equalizer allows you to adjust the frequencies that you or your audience hear coming out of a monitor or speaker. So, what do you adjust, and what does it sound like? Let's head back to my Yamaha console.
Each channel has a three-band equalizer that only adjusts the high, mid, or low frequencies.
For the entire sound system, you have more control over individual frequencies via this full spectrum EQ.
For now, we'll focus on the channel for your vocal mic. You'll learn how to adjust this three-band equalizer to give your voice sparkle, presence, depth, and warmth.
Let's begin by making sure these knobs are all set at 12 o'clock or zero so you can hear my voice when the EQ is flat - flat, meaning not attenuated (dialed down) or amplified (boosted.)
Mid Frequencies (Presence): I like to start with the mid frequencies because that's where the presence of the voice lies. These frequencies range from 2,400 to 3,400 hertz. Boosting them in your monitor will help your voice stand out clearly in the mix. If these frequencies are missing, your voice will lose its distinctiveness and sound distant or suppressed, like this. If you want to hear yourself in your monitor, the mids are essential. Listen to the difference between not enough and too much. You want it to be dialed in just right, like this.
High Frequencies (Sparkle): High frequencies (or those above 6000 kilohertz) add sparkle or brightness to your voice. If these frequencies are lacking in your monitor, your voice will sound dull and lifeless, like this. But if the highs are over-boosted, the sound becomes piercing and strident. You want to adjust these frequencies so there's clarity and detail in your voice, but you don't sound too harsh or bright. My voice usually sounds best right about here.
Low Frequencies (Depth and Warmth): Low frequencies, around 150-500 Hz, give your voice depth and warmth. If you don't have enough of these frequencies in your monitor, your voice will sound thin and hollow, like this. If you overdo it with these frequencies, your voice will sound boomy or muffled, like this. Play around with this setting until you have a full-bodied sound - warm and rich yet clear. I think my voice sounds good right about here.
Remember the vocal siren exercise? In a previous lesson, you learned how to use it to warm up your voice and repair vocal fold tissue after illness or injury. Well, here's another great use for it! After dialing in the mids, highs, and lows, I use the siren to sweep through all frequencies to check if any need fine-tuning. If all the notes in the siren feel even, I'm good to go!
Remember, every voice is unique, and these are just some starting points. The best way to find the perfect balance for your voice is to experiment with your EQ settings and listen intently to the changes. Ideally, you want to be in love with how your voice sounds. When you love the sound of your instrument, you can forget about frequencies and focus on making music instead.
So, take your time, make minor tweaks, and trust your ears. With practice, you'll learn to shape your sound to bring out the best in your voice.
In the next video, we'll take a look at vocal effects — things like echo, reverb, and compression. You'll learn about the essential effects and how to use them effectively without overdoing it.
Video 4: Effects (8.5 min)
Transcript:
In this video, you’ll learn about the most common vocal effects used by singers: Echo, Delay, Reverb, Chorus, Compression, Pitch Correction, and the Harmonizer.
You’ll hear what they sound like and discover when to use them.
Echo, Delay & Reverb
Let’s begin with Echo, Delay, and Reverb. These effects are similar, which can be confusing. Once I learned what sets them apart, deciding when to use them became easier. Let’s go over their similarities and differences so you can know when to use each one.
Echo: An echo effect repeats your voice exactly as you sang it, making it sound like you’re singing in a large, empty room or canyon. The repeated sound usually decreases in volume with each repetition. It’s like shouting into a valley and hearing your voice come back at you. [Yodeling Video? LOL] But this effect can quickly get out of hand, muddying up the overall sound of your voice and making lyrics hard to understand. It’s best used sparingly — like on a single sustained note with plenty of space around it.
Delay: Similar to echo, delay also repeats your voice, but you have more control over the timing and volume of the repetitions. You can set the delay to a specific time interval, which can be synchronized with a song’s tempo. This can create rhythmic effects or a fuller sound, like multiple voices singing in unison. But you need to be careful not to overuse this effect, too. Just like with the delay’s close-cousin echo, too much of this effect will make your vocals sound muddy and the lyrics unclear. [Demonstration]
Reverb: Reverb simulates the natural reflections of sound in a physical space. Unlike echo and delay, which repeat distinct copies of the sound, reverb produces a large number of reflections that quickly merge together, creating a sense of space and depth. Depending on the settings, your voice can sound like you’re singing in a concert hall, a cathedral, or even a small room. [Demonstration]
When used effectively, reverb can be a valuable tool for a singer. However, how you use it depends on the style of music you sing.
For instance, in folk or singer-songwriter music, where clear vocals are key, reverb should be used sparingly to avoid muddying the lyrics, which are like the star of the show in those styles. In contrast, genres like dream pop or dub that emphasize atmosphere use more reverb.
As a rule of thumb, always make sure that the reverb level suits the song, venue, and overall mix so it enhances rather than detracts from your vocal performance.
So, that’s a brief rundown on echo, delay, and reverb.
It took me a while to have this information embedded deeply enough in my brain that I wouldn’t confuse them. An easy way to keep them straight is to remember that echo and delay are about repeating your voice, and reverb is about creating a sense of space.
One last thing you should know: You can use these effects individually or combine them to create a wide variety of vocal sounds. But again, use them wisely so they enhance your voice without overwhelming it.
So, let’s move on to a few more effects you should know about.
Chorus
A chorus effect makes it sound as if multiple people are singing the same part simultaneously. It creates a rich, full sound, similar to a choir. [Demonstration]
Compression
As I mentioned earlier, compression is used to control the dynamic range of your voice. It makes loud parts quieter and quiet parts louder, so the volume in your vocal performance is more consistent.
While compression is a valuable tool, it should be used carefully. Over-compressing your vocals can make them sound flat and lifeless. The key is to apply just enough compression to smooth out the volume levels without eliminating your natural dynamics and expression.
Another thing to be aware of? Compression is used more heavily in music styles like rock or pop to create a consistent and polished vocal sound. This is more important in genres with loud instrumentation so you have a stable and distinct vocal presence. Compression is used more sparingly in genres like classical or jazz, where maintaining natural dynamics and expression is crucial to the performance.
Here’s what it sounds like when I apply compression to this short a cappella example. [Demonstration]
Pitch Correction
Pitch correction, also known as auto-tune, can be a double-edged sword for singers. On the one hand, it can ensure your singing is always in tune, which could be helpful during a high-pressure live performance when nerves or poor acoustics might affect your pitch. Using it can make your vocals sound more polished and professional.
Relying on pitch correction is a big mistake. First, you might not work as hard to develop your pitch accuracy if you know that auto-tune will “fix” any mistakes. Also, overusing pitch correction can make your vocals sound robotic or unnatural. If that’s a stylistic choice, great! But if it’s not, it can detract from your performance’s authenticity and emotional impact. Give your audience some credit. Most people generally appreciate the natural imperfections and nuances of a live performance. Too much pitch correction can make the vocals sound sterile.
However, suppose you decide to use pitch correction for live performance. In that case, it’s essential to set it up for the specific key of each song. This helps the algorithm accurately identify and correct any off-pitch notes in that key, so it enhances your vocal performance rather than creating weird-sounding artifacts.
So, here’s my little soap-box moment: Ultimately, nothing can replace good vocal technique. Improving your natural pitch accuracy is the best way to boost your confidence in performance. Pitch correction should be considered a tool to enhance rather than replace it.
Harmonizers
A harmonizer creates harmonies based on the notes you’re singing. So, if you’re singing a melody, it can automatically generate harmony parts to accompany you.
One of my favorite musicians, Jacob Collier, is a master at using this effect. I’ll let him demonstrate it for you in the Go Deeper section of this lesson page.
Go Deeper/Links:
VIDEO ONE: Anatomy of a Sound System
VIDEO TWO: Monitors
Stage Monitor Buying Guide from Musician’s Friend
In-Ear Monitors: What Are They and How To Use Them
Hot Spot Monitor Example