
Advancing Your Show: A Singer’s Stage Plots and Performance Riders

Image courtesy of https://tourmanager.info/
Whether performing in an intimate club or at an outdoor festival, having a well-crafted stage plot and contract rider can make all the difference on the day of your show.
These tools are essential for smoother performances and clearer communication with venue staff and sound engineers. They'll help you avoid common issues that many artists face and ensure you get what you need for the show with fewer last-minute surprises. Plus, you're setting the stage—literally—for a more professional and enjoyable experience for both you and your audience.
In this blog post, we'll explore these essential documents, sharing valuable tips and real-life examples to help you clearly and confidently communicate your technical and hospitality needs.
Let's dive into creating your technical rider, and then we'll move on to stage plots.
Technical Riders for Singers
What’s a technical rider?
A technical rider is a document that details all the technical needs for your performance, including:
Microphones: Types, quantities, and brand preferences
Stage Monitors/In-Ear Systems: Number and placement
Input List: All necessary inputs like mics, DI boxes, and instruments
Sound System Specifications: PA system, mixing console, and additional sound equipment
Stage Plot: A diagram of equipment and band member placement
Effects and Processing: Vocal effects like reverb, delay, and compression
Lighting and power Needs: Lighting cues for the person running the lights and power requirements
The specifics of your technical rider depend on the venue size and type of performance. Let’s look at the range from simple setups for small club gigs to more detailed requirements for larger venues and festivals.
Small Club Gigs: Keeping It Simple
If you’re a singer performing in small clubs, your technical rider will be relatively simple. Here’s what you’ll typically have on your list:
Microphones:I highly recommend bringing your own vocal mic. (If you need help choosing one, check out this blog post.) You might also need microphones for acoustic instruments. While some venues provide these, don’t count on it. If you have specific preferences for types or brands, consider investing in your own. Having your own mics guarantees consistent sound quality across different venues.
Stage Monitors:Stage monitors are a must. One or two will ensure you can hear yourself clearly.
Basic Input List: You’ll also want to include a basic input list that includes your microphone and any instruments you play, like a guitar or keyboard. (If you’re not sure what an input list is, hang tight. We’ll take a look at one in the section on stage plots.)
Minimal Effects: Lastly, you might want to request some basic vocal effects like reverb.
Smaller venues typically have a PA system and a sound engineer to manage it. However, this isn’t always the case. Sometimes, while a PA system is available, there’s no sound engineer. In those situations, you’ll need to operate the sound system from the stage yourself.
(For more on how to do this, head over to the ‘Go Deeper’ section at the bottom of the page in this lesson of my free course, Becoming A Singer. There’s a lot of other great information about sound systems in the lesson as well!)
Your main task is to bring your own gear and clearly communicate your basic requirements well in advance. It’s best to provide this information 2–4 weeks before the show. This gives event organizers and sound engineers ample time to prepare and meet your technical needs. If they can’t—or won’t—accommodate your requests, you’ll have time to make other arrangements before arriving at the venue on the day of your performance.
Large Venues and Festivals: Detailed and Demanding
Your technical rider becomes much more detailed when you perform in concert halls or music festivals or have a larger band. Here’s what you might need:
Specific Microphones: Detailed preferences for vocal microphones, instrument mics, and backups.
Multiple Monitors and In-Ear Systems: You’ll need more stage monitors or in-ear monitoring systems to cater to different band members’ needs.
Comprehensive Input List: A detailed input list covering all instruments, vocal mics, and DI boxes. (FYI, a DI (Direct Input) box is a tiny contraption that helps you connect instruments like amplifiers and keyboards directly to a mixing console.)
Advanced Sound System Requirements: Specifications for the PA system, including the type of mixing console and speaker setup.
Stage Plot: A detailed stage plot showing the placement of each band member, instrument, and monitor.
Effects and Processing: Specific requirements for vocal effects, such as reverb, delay, and compression settings.
Lighting and Power Needs: Detailed lighting cues and power requirements, including additional power sources for amplifiers and effects pedals.
In these larger venues, sending your technical rider well in advance to the event organizers and sound engineers is a must. That way, they’ll have time to prepare and provide everything you need for your performance. And again, if they can’t provide what you’ve requested, you can make other arrangements well before the show.
Bridging the Gap
When you're starting out, keep it simple. Master the basics of your setup, create a straightforward technical rider, and communicate clearly with venue staff. As you progress to larger venues, you'll gradually develop more detailed documents. No matter where you are in your career, having an up-to-date and easy-to-read rider and stage plot will lead to a smoother experience for you and your audience—whether you're singing in a cozy club or performing at a massive festival.
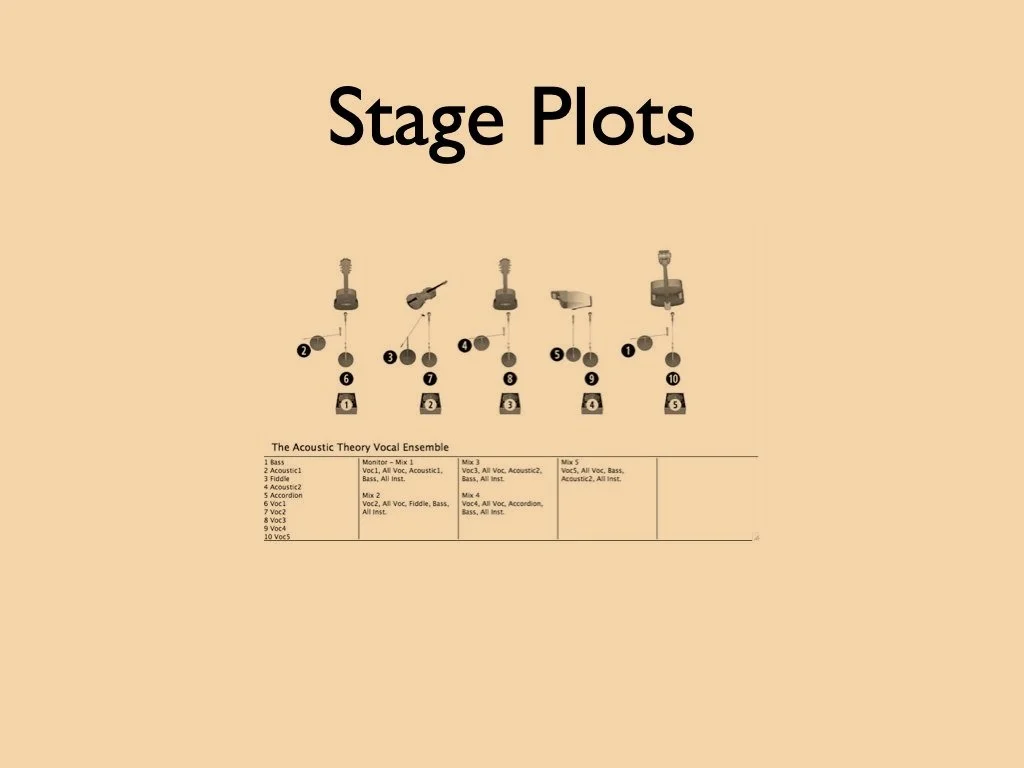
Stage Plots
Next, you’ll learn how to design a stage plot that clearly communicates your setup and needs to the stage crew (if there is one) and sound engineers, making their job—and yours—much easier.
A well-crafted stage plot should include:
The placement of each instrument
The location of the monitors and main speakers
Where each band member stands
Where you need power on the stage
The placement of DI boxes
PRO TIP: When performing on larger stages, it’s important to specify the distance between each band member and their instruments. It’s especially crucial if your music relies on visual cues and the natural sounds of instruments. Performing on a large stage can be disorienting if you’re used to smaller spaces and find yourselves spread too far apart.
If your band lineup is consistent, add their names so the stage crew and audio engineers can address them personally rather than shouting "Hey you!" across the stage.
Whether you’re performing in a small ensemble or a larger group, keep your stage plot simple.
Don’t overdo it with small details. Time is often tight for setup and sound check. So, make it easy for the stage crew and audio engineers to see everything you need at a glance.
You don’t need sophisticated stage plot software, either. You can create a simple yet effective stage plot for free using shapes and text in Google Docs, like this one I found on tourmanager.info:

So, let’s take a deeper look at this stage plot.
The image above shows a bird's-eye view of the stage. The band's name is at the back of the stage, while the front is at the bottom.
While we’re here, let's clarify the terms "stage left" and "stage right." These directions are from the performer's perspective, not the audience's. When you're on stage facing the audience, your left is "stage left," and your right is "stage right." It took me years to figure this out—I was too embarrassed to ask, and the internet wasn't even a thing yet! It can be confusing when looking at a stage plot like this because it shows the audience's perspective.
I like this stage plot because it’s easy to see and read. The band name and tour season are in a large font, which is brilliant. The last thing you want, especially when you’re performing on a show with multiple bands, is your stage plot getting mixed up with someone else’s! It also includes the contact info for the band in the lower right corner. This is incredibly helpful if the stage manager or person advancing the show has questions beforehand or on the day of the show.
Even with this larger horn band, it's easy to see what's what. The circles represent mics and mic stands; the small rectangles are monitor wedges, the triangles indicate direct boxes, and the lightning bolts show where AC power is needed. For clarity, a legend at the top explains the symbols for direct boxes and power.
This next example is from a website called Stage-Plan.com.

Their software isn’t free, but they offer some affordable options. All but one includes downloading a .pdf after you’ve created your stage plot. Notice that the symbols are more complex and show things like the types of monitors and amplifiers. For instance, the drummer has a side-fill monitor, the bass and guitar players have wedges, and the singer has an in-ear system.
Unlike the Google Doc, this stage plot has multiple pages. Each page contains the band name, contact person’s info, and the page number with the total number of pages. It’s also a good idea to add a spot at the bottom for the contract signer to initial. That way, you have proof that someone has read and agreed to the terms, which helps prevent misunderstandings about what was agreed upon.
What I like about this PDF is that it has a lot of valuable information to send when you advance a show.
For instance, this second page lists each band member and their equipment details:

Hospitality Rider
It also has a page for a hospitality rider, which is a document that covers the non-technical needs of performers, like:
Accommodations: This includes the number of hotel rooms, how close they are to the venue, as well as internet access. (If you’re on tour, you may need to handle your own transportation and accommodations, so be sure to discuss additional compensation if these aren’t provided.)
Food: You can request specific food items or opt for a buy-out, giving each performer a set amount to spend on a meal at a place of their choice.
Backstage Area: This section includes dressing and green room requirements like towels, drinks, snacks, and sometimes even sandwiches. Some riders even specify the temperature of the backstage area (but unless you’re a superstar, don’t hold your breath waiting for the perfect 72°F).

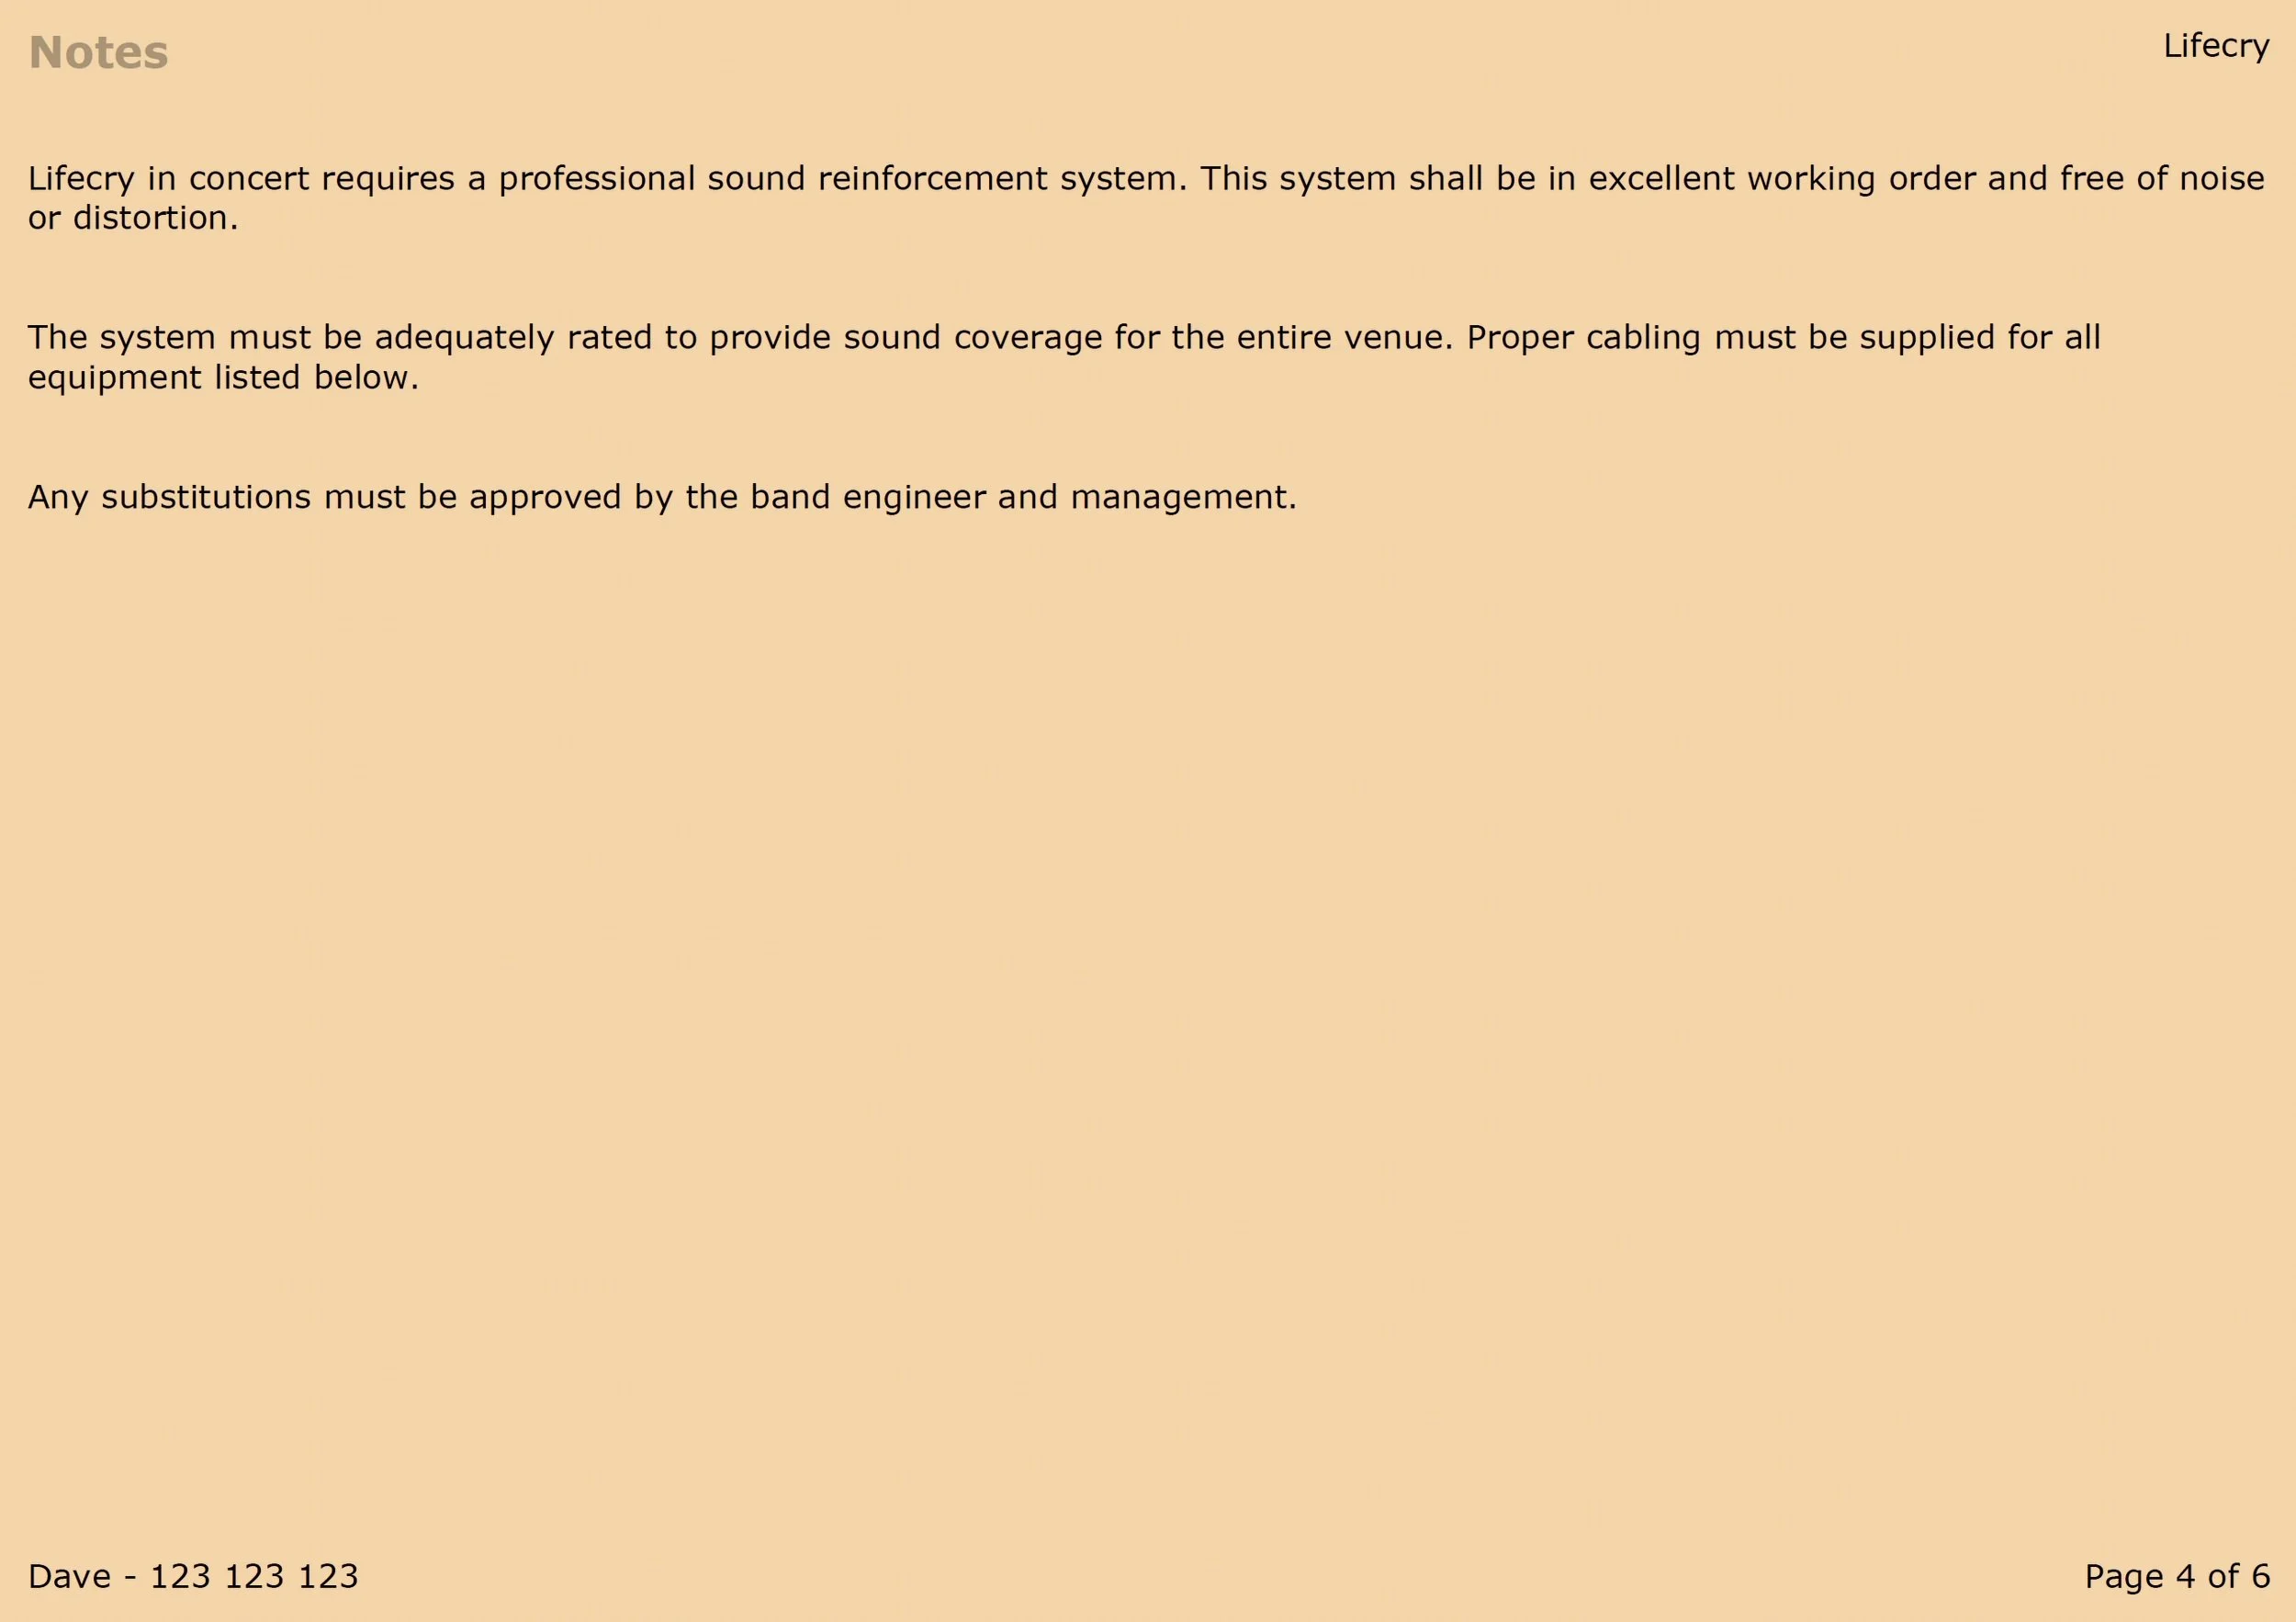
Notes Page
This page has space for additional notes and confirms that the venue will supply a professional sound system that’s suitable for the space and in good working order. While you’d think this would be a given, unfortunately, that’s not always the case. So, including this info is crucial if you’re not bringing your own sound system.
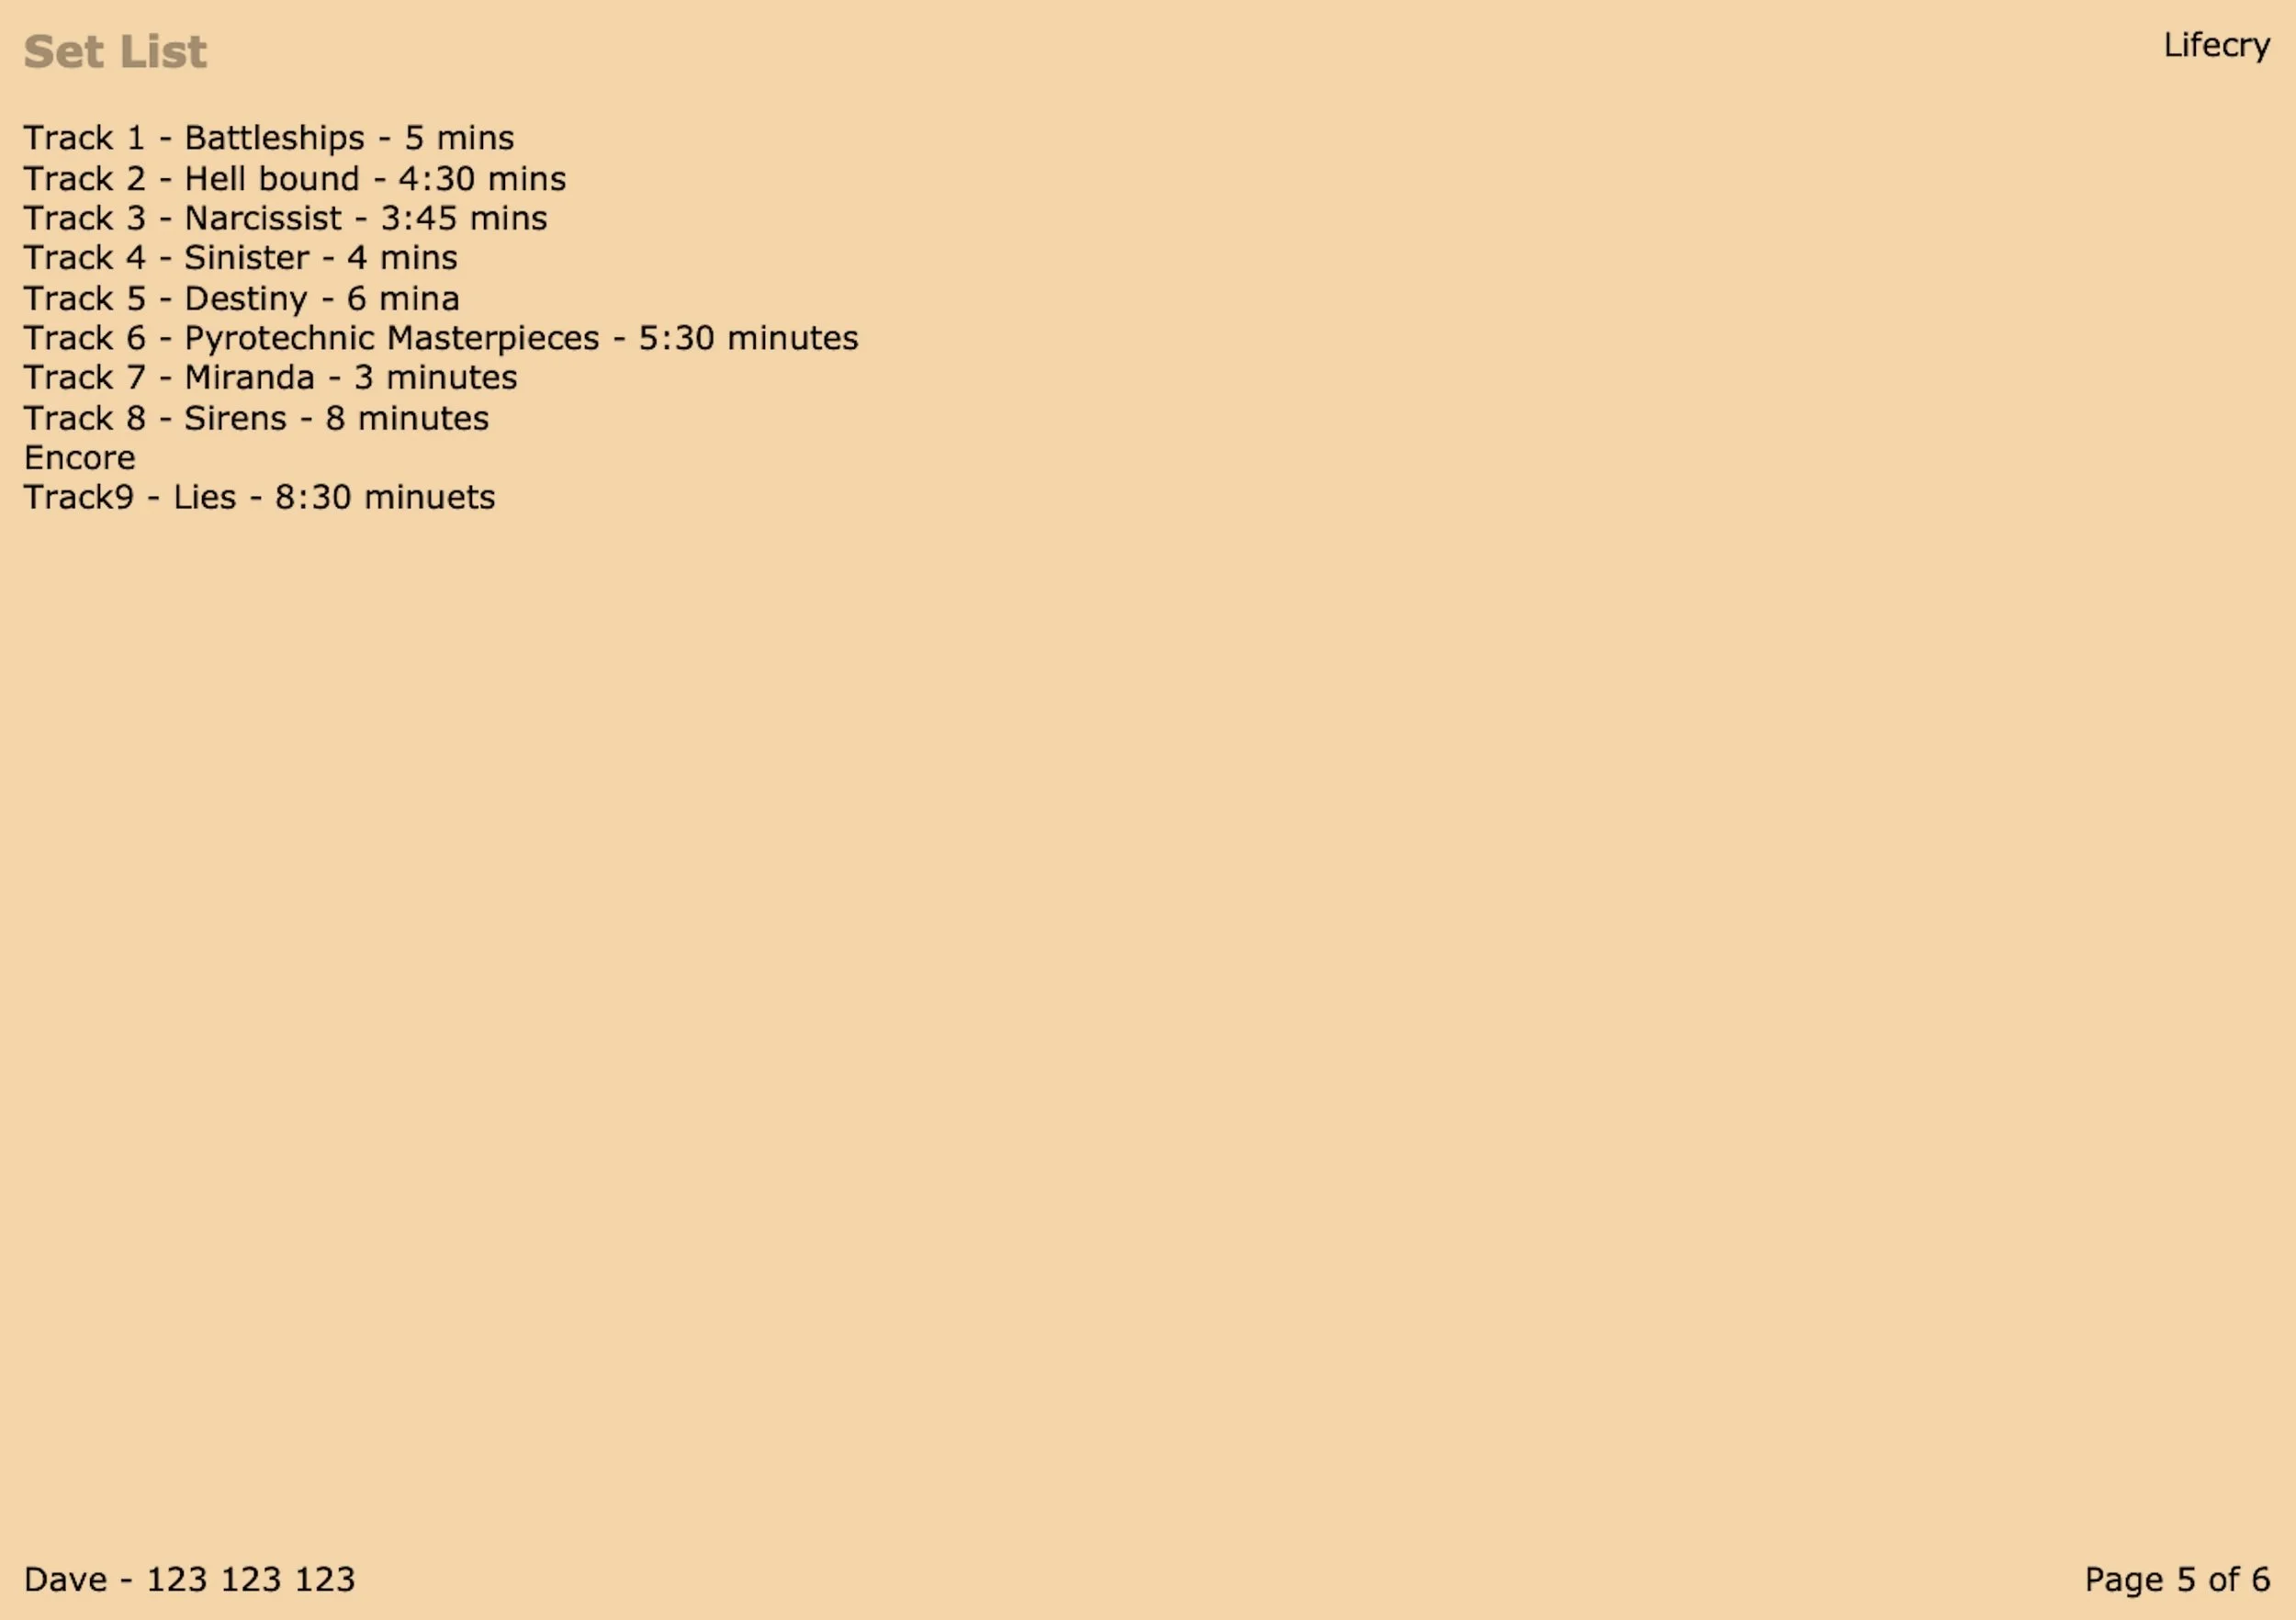
Set List
This rider also includes a set list with song names and their lengths. When creating set lists for shows, I also include a one or two-word description of the mood for each song. That way, if the lighting tech isn’t familiar with the material, they’ll have some idea of how to light the stage to match the feeling.
Input List
Lastly, an input list shows the number of channels and instruments, whether they’ll use a direct box or microphone, and the type of microphone needed. It also lists the type of mic stand and monitor each musician needs.

IMPORTANT! Always include the type of mic stand you’d like for vocals. The round base is best for most singers because it’s easier to move, you’re less likely to trip over it than a tripod stand, plus you can dance with it!
This is the final stage plot I want to share with you.
It’s different from the others because it has the input list at the bottom and shows which instruments each musician wants to hear in their monitors. Providing this info to the sound techs before the show can save valuable time during your sound check.
Here are a few more tips for creating your stage plot:
• Consider sight lines: Ensure the audience can see you from every angle.
• On larger stages, set up closer together than you might think to avoid feeling "lost" in the space.
• Visit the venue beforehand to get a sense of the layout, or research it online for photos and stage plots. (Pro tip: I use this method to pick outfits for gigs too!)
Expectations & The Glamorous Life
When it comes to crafting your rider, start by asking for the essentials you need to put on a great show—things like specific microphones, stage monitors, and basic hospitality items like bottled water and snacks. But keep in mind that when you’re starting out, you might not receive everything you ask for. Some venues and promoters have limited resources, especially for newer acts, so it’s important to manage your expectations.
In the early days of Nu Shooz, we asked for the basics—water, complimentary non-alcoholic beverages, or a free meal when performing out of town. Sometimes we got what we asked for, but other times we didn’t. I remember one gig where we requested fish and veggies and got fried chicken instead. To top it off, the promoter and his family ate all the food right in front of us while we were performing! Yup. Right on the side of the stage.
Accommodations were also hit or miss. In the early days, we slept in our cars, camped in campgrounds, or crashed at a friend’s place. If the venue did provide accommodations, it was often a run-down, flea-infested ‘band house’ with the lingering scent of old cigarette butts. There was one tour where they put us up in a hotel called The Economy West. Their tagline was “For The Rest of Your Life.” (I think they meant Rest as in restful, but we took it to mean we’d be stuck there for eternity.) Anyway, there was a McDonald’s drive-through right next to the bedroom window. My husband John and I woke up every morning to “You want fries with that?” Our band meetings took place around a de-commissioned pool, dry to the bone, with cracked walls, a smattering of tree debris, and one dead rat.
But what about the glamorous life of megastars? Years later, we were backstage at a Sting concert and got a peek into the band’s green room. It had been converted into a Middle Eastern-style tent complete with poufs and cushions to sit on. If you’re a super successful artist like Sting, you can request things like that on your rider, and you’ll probably get them. But even when you’re a superstar, you still might not get what you ask for. Van Halen famously requested that all the brown M&M’s be removed from the candy bowl in their dressing rooms. If they weren’t, they knew the promoter hadn’t paid attention to other details, like safety, in their rider. On the face of it, finding brown M&M’s in your candy bowl seems trivial, but a heavy stage light falling from a lighting truss definitely isn’t.
So, be clear about your needs and stay flexible when things don’t go as planned. As you gain experience and draw larger crowds, you’ll have more leverage to negotiate for your ideal setup. Start with the basics and always present a professional stage plot and rider. That way, venues and promoters will know that you’re a pro and maybe even take your requests more seriously. Over time, you’ll get closer to your perfect performance setup.
Discover More: The Art of the Sound Check
In this blog post, I share best practices for sound check, building on everything you’ve learned here to help you prepare for the day of the show. I know from personal experience that sound checks can be stressful, especially for newer performers, so I've designed this guide with you in mind. You’ll learn practical strategies for setting up efficiently, communicating clearly with your tech team and bandmates, and optimizing your monitor mix for the best possible performance. I also offer tips on sound check etiquette, helping you navigate your soundcheck with confidence and professionalism. Whether you're a seasoned pro or just starting out, this post is designed to offer valuable insights to refine and optimize your pre-show routine and set you up for success on stage.
See you soon!